November 2016
Wet sanding with a sponge-backed 400 grit paper reveals high and low spots that can be further worked with my nylon hammer and bucking bars.

The water also creates a sheen that reveals surface unevenness.
I had an urge to get an idea of what my colour scheme was going to look like, and also was in need of a milestone of sorts. Finishing the wheel pants might be a shot in the arm, so I carried on.
Maroon goes on.....
Followed by the red. I mask off the stripes so that the fine-line tape can be removed with minimal disturbance of the masking tape and paper.
This allows for the removal of the fine-line tape while the paint is wet.
Paper removed to reveal a reasonable result.
Because there is no longer any bondo, the seam extrusions didn't fit properly. There were large gaps between the edges and the surface of the pants, so I had to reform them for a snug fit all around.
Carefully riveted on the flyers....
After fitting the seam covers I sanded out all the surface blemishes, finishing with wet-sanding at 400 grit.
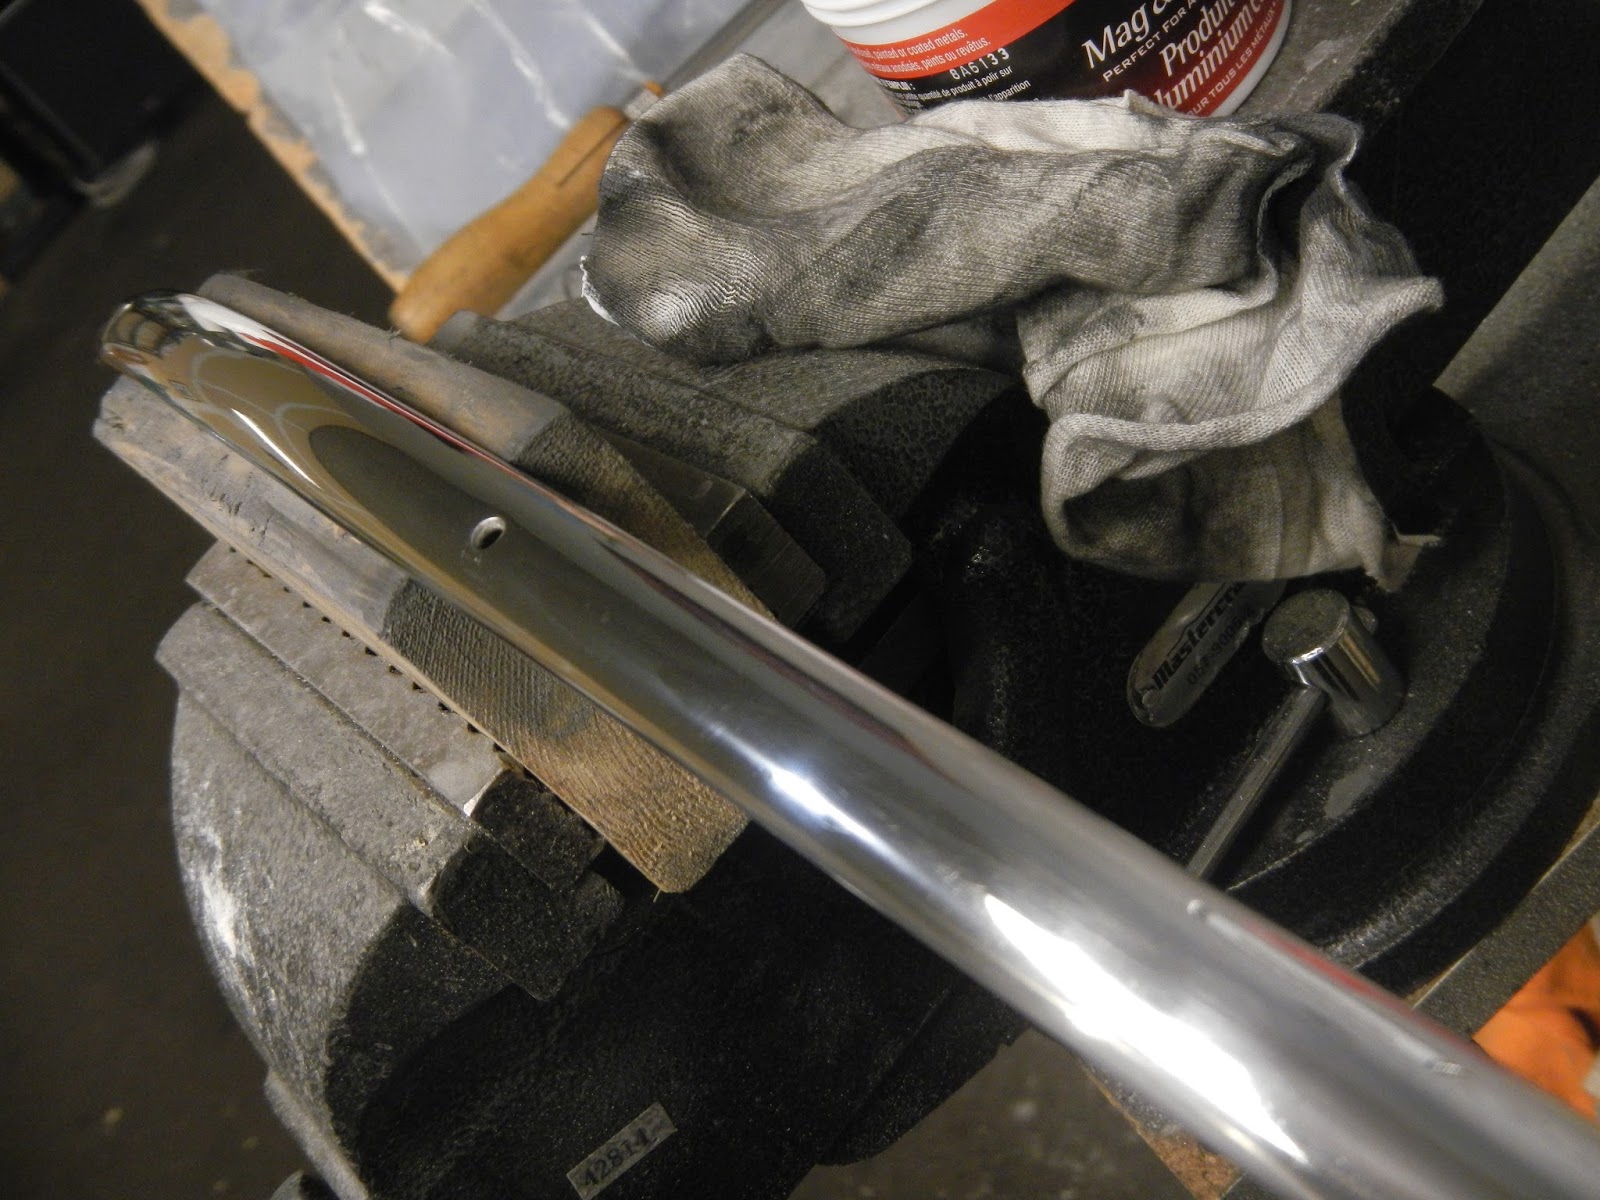
With all the blemishes sanded out the parts come up relatively easily on the buffing wheel, and then are given a final polish by hand.
Well it felt good to get something done.
Time for a cigar perhaps......
August 2016
The Pants are given a generous coat of epoxy primer along with all the other repair parts. Then riveted together
Bulkhead frames are installed first.
Also installed the splash panels.
Some final tap-tapping with my nylon knockometer, and
the pants are prep-wiped and sprayed with surfacer.
Then wet sanding until the epoxy primer is exposed, being careful not to sand through to bare metal.
Spray on... sand off, repeat.
June 2016
I had to order 4" tape for the leading and trailing edges of the gear legs. Once received I finished them off.
Although I achieved a reasonable result, it was evident that I still had not solved all my paint booth problems.
I also painted the bungee covers
I had been periodically using up stripper on the wheel pants, then I realized they were the last significant parts to be stripped and cleaned. I bought these on-line and they looked ok in the photos, but stripping the paint revealed mucho bondo and many cracks and holes,
Not to mention several coats of paint.

Stripped inside and out.
To resurrect the pants I started by removing all the doublers and frames
Removing the steal rivets is a pain. The best method I've found is to use a #30 carbide drill bit, obviously with a good edge. Slow speed... once the bit has a little "bite" tilt and move the drill as nessesary to get the hole centered. Don't drill all the way through, but as far as the thickness of the rivet head and aluminium skin.
Then use a punch and knockometer and hopefully the rivet head breaks off and shank pushes out. If not, and the hole is centered, use a 1/8" bit to open up the hole. Sometimes it's necessary to back up with a bucking bar.

Taking all this care will generally leave a hole in good condition so I don't have to use oversize rivets (which will be AD rivets!)
I spent many, many hours tapping with my nylon hammer and rubbing, actually probably a couple of days over the course of a week, to work the dents out. We'll see how they look after primer goes on but I think perhaps only a hi-build primer in a couple of areas will be needed.
New bulkheads were fabricated from 6061 T6 040". The originals were very soft material. So soft I wonder if they actually did anything other than add weight.
Slightly larger replacement doublers were fabricated and the entire wheel openings were reinforced.
I used 2024 T3 which should give the pants a good deal more strength and crack resistance.
The mounting areas, with multiple holes and no edge distance, were cut out completely so I'll have a "clean slate" when install time finally comes.
Outboard sides get enlarged doublers too.
The original fabrication involved forming the aluminium around a steal wire. If I were a betting man I'd say the cracks started the day these pants were made.
Anyway I thought about just cutting the whole edge off, but in the end decided to weld up the cracks. This in combination with the 2024 T3 doublers should last another Tcraft lifetime.
Cracks in the centre seam were also weld repaired.
And all the new rivet holes dimpled for flush rivets so the pants will look as original as possible.
Up next was a little fun.
I made new outboard external doublers with the familiar shape.

I believe this is accurate for the May 46 BC12D but anyway that's what CF-CLR is going to have!
After all what's not to like about that design.
Clad is removed and a nice finish achieved.
A little tricky to get them straight while picking up the existing holes.
New pant mounts are also needed
Chromoly steal is used
I'll drill the plates at the final assembly stage
So the pants and associated parts are ready for cleaning etching and paint after living up to the standard timeline of about 5 times longer than expected.
October 2015
After doing the initial fabric on the tail feathers I also covered the gear legs

I made up four plywood supports in the hopes of creating a better edge to the fabric at the bottom of the legs.

Fabric is marked and the wood forms are glued in place prior to installing the the fabric,

And a coat of Polybrush is applied...

Mixing up epoxy primer and urethane I was looking for other things to paint so the wheels get refurbished.
After media blasting and paint, the wheel halves are warmed and the bearing races are put in the freezer. The races are then tapped into place and secured with loc-tite bearing retainer.
New brake lining is trimmed so that it is a "press" fit into the wheel half. This means it's forced tightly against the rim and the rivet holes can be drilled.
The holes are then counter-bored. There are no dimensions available for this job so measuring the old parts and the rivet and new lining thickness, I settled on 1/3, 1/3, 1/3 ie one third of the lining thickness for the available wear, 1/3 to accommodate the rivet head, and 1/3 for the 5/32" hole.
Lining is then reinserted into the rim, this time with some hi-temp silicone and then riveted in place.
And I'm happy with the result.
Finally the tires and tubes are remounted.


 Stripped inside and out.


 I believe this is accurate for the May 46 BC12D but anyway that's what CF-CLR is going to have!


 I made up four plywood supports in the hopes of creating a better edge to the fabric at the bottom of the legs.
 And a coat of Polybrush is applied...
 Mixing up epoxy primer and urethane I was looking for other things to paint so the wheels get refurbished.


Nice job. Would you have a pattern for the cut out on the wheel pants. I have new fiberglass pants not cut out. Thanks Monty.
ReplyDeleteSorry no. I trimmed a little at a time until there was enough clearance to remove and install the pants without scuffing the gear leg.
ReplyDelete