The ailerons were hanging on the wall of the hangar since March of 2015. Other than the wings they were the only sizable parts left to paint so I wanted them to be ready for paint at the same time as the wings.
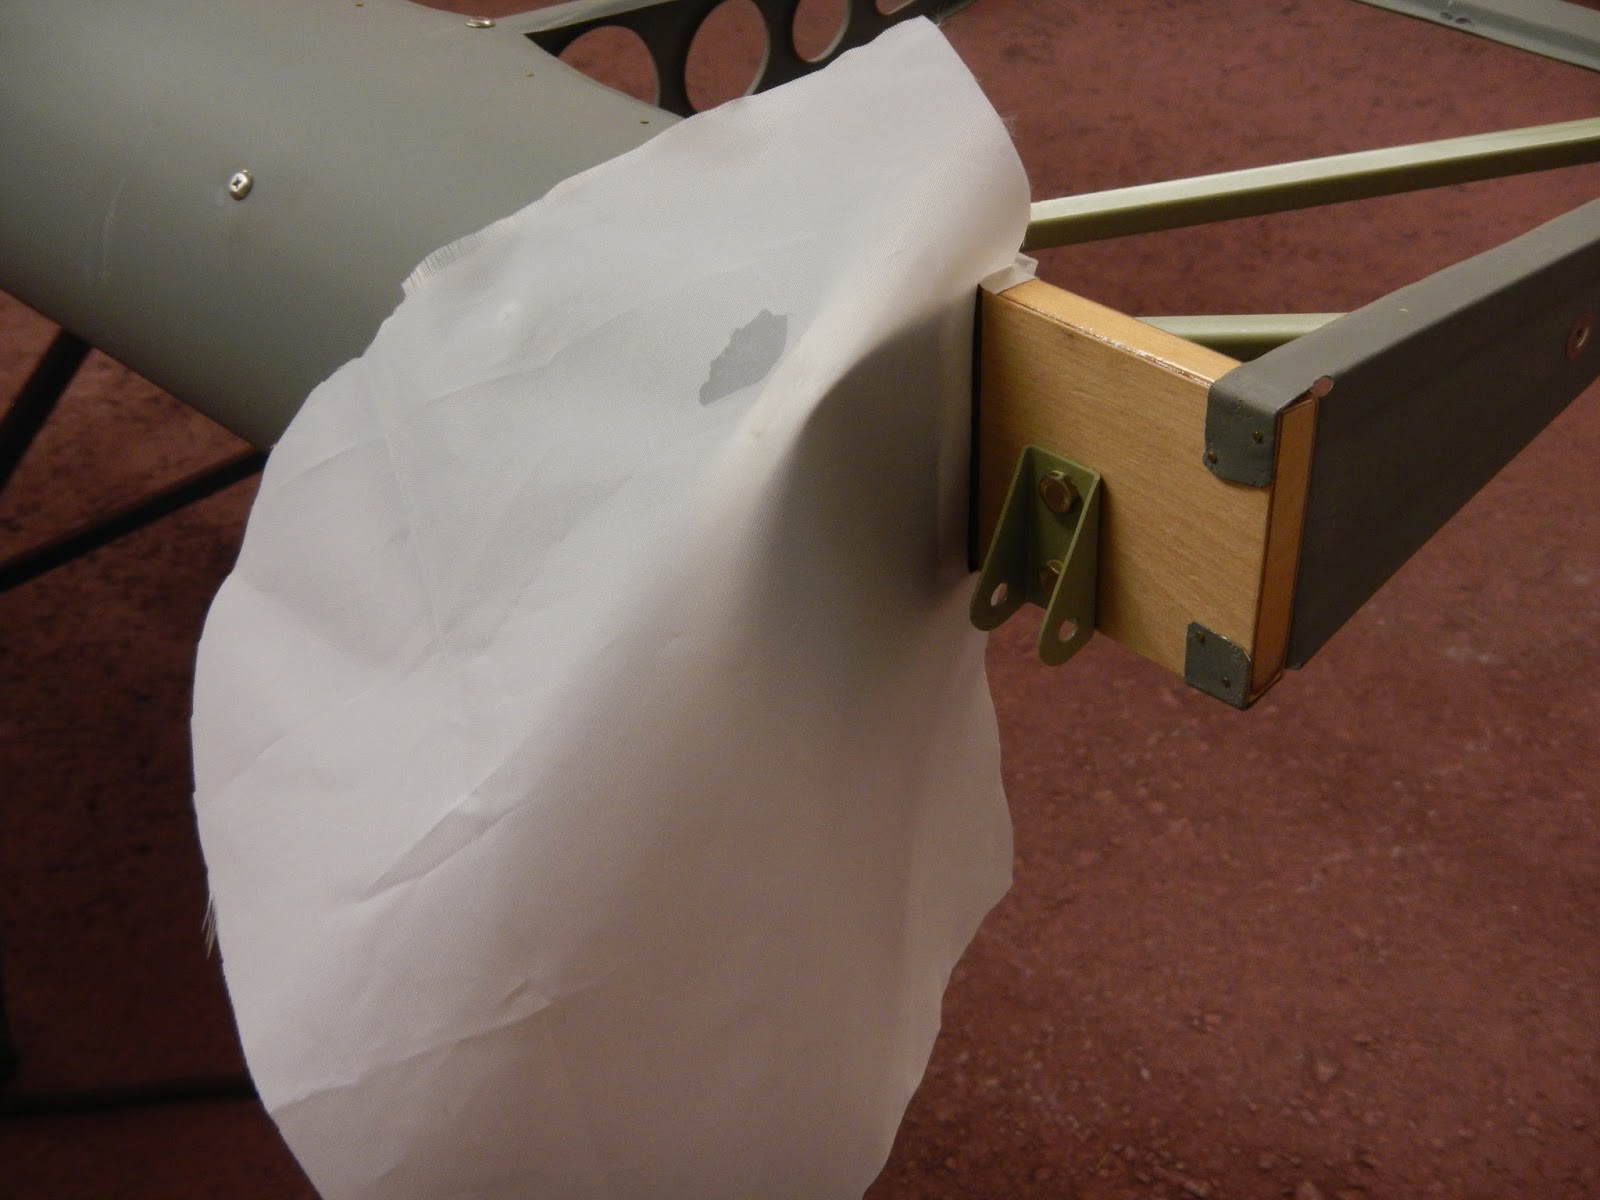
One tricky part of covering the ailerons is the hinge recesses. One side is ok as the rib web is convenient for attaching fabric, but the other side the web is "inside" so the options are attaching to the flange and leaving the web open (for weather, birds, mice, bugs etc) or covering the opening in which case you need something to which the fabric can be adequately attached.


I heat tighten the lower fabric at 250 degrees,just enough to remove the major wrinkles.


I made some spruce shims to straighten things up.


Drain grommets go on next followed by mucho ironing to smooth out joints and secure tape pinks.
Then more spray coats of poly.


This way I was able to put leftover mixed Ranthane in the snow overnight and use it the following day. I wasted about a 1/4 of a cup in the end or about $100 worth! LOL
After touching up with a small artist's brush around the fittings, the ailerons are finished! WooHoo......

March 2015
Aileron assembly went well although there was much fiddling around to get everything square, while using all the previous holes. While dismantling I noticed that the ribs were all over the place in terms of straightness so preassembling to mark good rib locations was a good plan.
I toyed with the thought of fabricating new root ribs because I think they should really be made from 2024T3 instead of the soft aluminium Tcraft apparently used, but in the end I settled for additional support. Given I won't be using dope, damage from ongoing fabric shrinkage should be a thing of the past but supporting areas that are clearly less than adequate seems prudent.

The new tip bows fit nicely

Not sure that this strut does much good but anyway... I through-bolted in place of just screwing them to the spruce.


Now the time spent straightening and reforming the skins pays off as they are easily held in place for nailing


Assembly of the right aileron goes faster now that I know what I'm doing :)


 Plywood doublers are attached with structural epoxy. I dilute the leftover with denatured alcohol which makes for a good varnish for these small parts.
 I line-oiled the tip bows and use chromate paste on the screws. Eventually they'll turn to dust again but I think I've delayed that eventuality as long as possible


Not really sure how to nail, but I figured starting in the middle of each bay and working out toward the ribs would be ok...seemed to work

all but two holes were good for the pk screws, so two tinnermans were used

A little epoxy filler to smooth the tips to the bows, touch up the primer and two ailerons ready for covering. It was nice to finally put something back together!

December 2014
While waiting for ribs to etch and/or primer to dry, I started work on the ailerons. The ailerons were the only assemblies that had not been stripped to component parts. True to form they were in pretty tough shape and the left one contained about a cup of gravel?
Nasty

During dismantling I took note of a few things. Here the edge of a rib is cutting a rib stitch


Both the inboard ribs were deformed due to dope/fabric shrinkage (and the very soft material Tcraft used to manufacture all the aileron ribs). I managed to straighten these by shrinking the top and bottom flanges using the same methods I used for the wing root ribs.
A concerning discovery was the way the ribs were cutting into the spars


At some point rot set in and as a result the fittings probably came loose. The solution... crank up the bolts. It worked perhaps as I had never detected the problem, but certainly not the right solution. So for all you Tcraft owners out there, if the hinge brackets come loose, there is most likely a problem with the spar.

These small end cutters were invaluable for removing hundreds of nails.

Tip bows corroded:

Media blasting reveals the full extent of the damage

Clearly new spars were in order.

Plywood doublers (what was left of them), the tip rib and tip nose rib had to be removed to slide the ribs off the spars.

Isn't it amazing that you can spend hours cleaning an preparing aluminium parts and still have paint peel off, and yet 50 year old varnish splashed around unprepared parts just won't come off!

Use what you have for sheet metal forming. Here I used half inch extensions as a dolly to remove dents from the leading edges.


And a plastic bag allows oversize parts like the leading edges to be stripped and cleaned.

After several hours of cleaning, blasting, straightening and reforming, the parts are ready for paint prep.

After a marathon of alumiprep and alodine, all aluminium parts primed


The left tip bow was in worse shape than the right...

.jpg) So I set about making new ones.
So I set about making new ones.With the tubes filled with sand, they are cold formed. I expect there's a way of calculating how much tighter the form radius needs to be compared to the finished part, but I guessed...
and got it right the second time :)
Part duplication
.jpg)

Fabricating the tip mount brackets
Ready for welding
.jpg)

End duplication, and clean up prior to epoxy primer
.jpg)
Next up, fabrication of the new spars. In place of using the dimensions of the old spars, I measured the Ribs to determine the maximum possible size and cut, planed, sanded to these dimensions leaving some clearance for varnish and alignment of the ribs.
Cutting the scarfs on the spruce doublers

Ready for bonding


I took the angles directly from the ribs and final size cut after the installation of the 1/16" plywood doublers (only the mid-span doublers can be installed at this point as the ribs must go on before the hinge location doublers).


 After checking the hole locations against the wing rear spars to ensure proper alignment, I used the old spars as drill jigs to pick up most of the hole locations.
and checked....
I couldn't see leaving the ends open so installed 1/16" caps

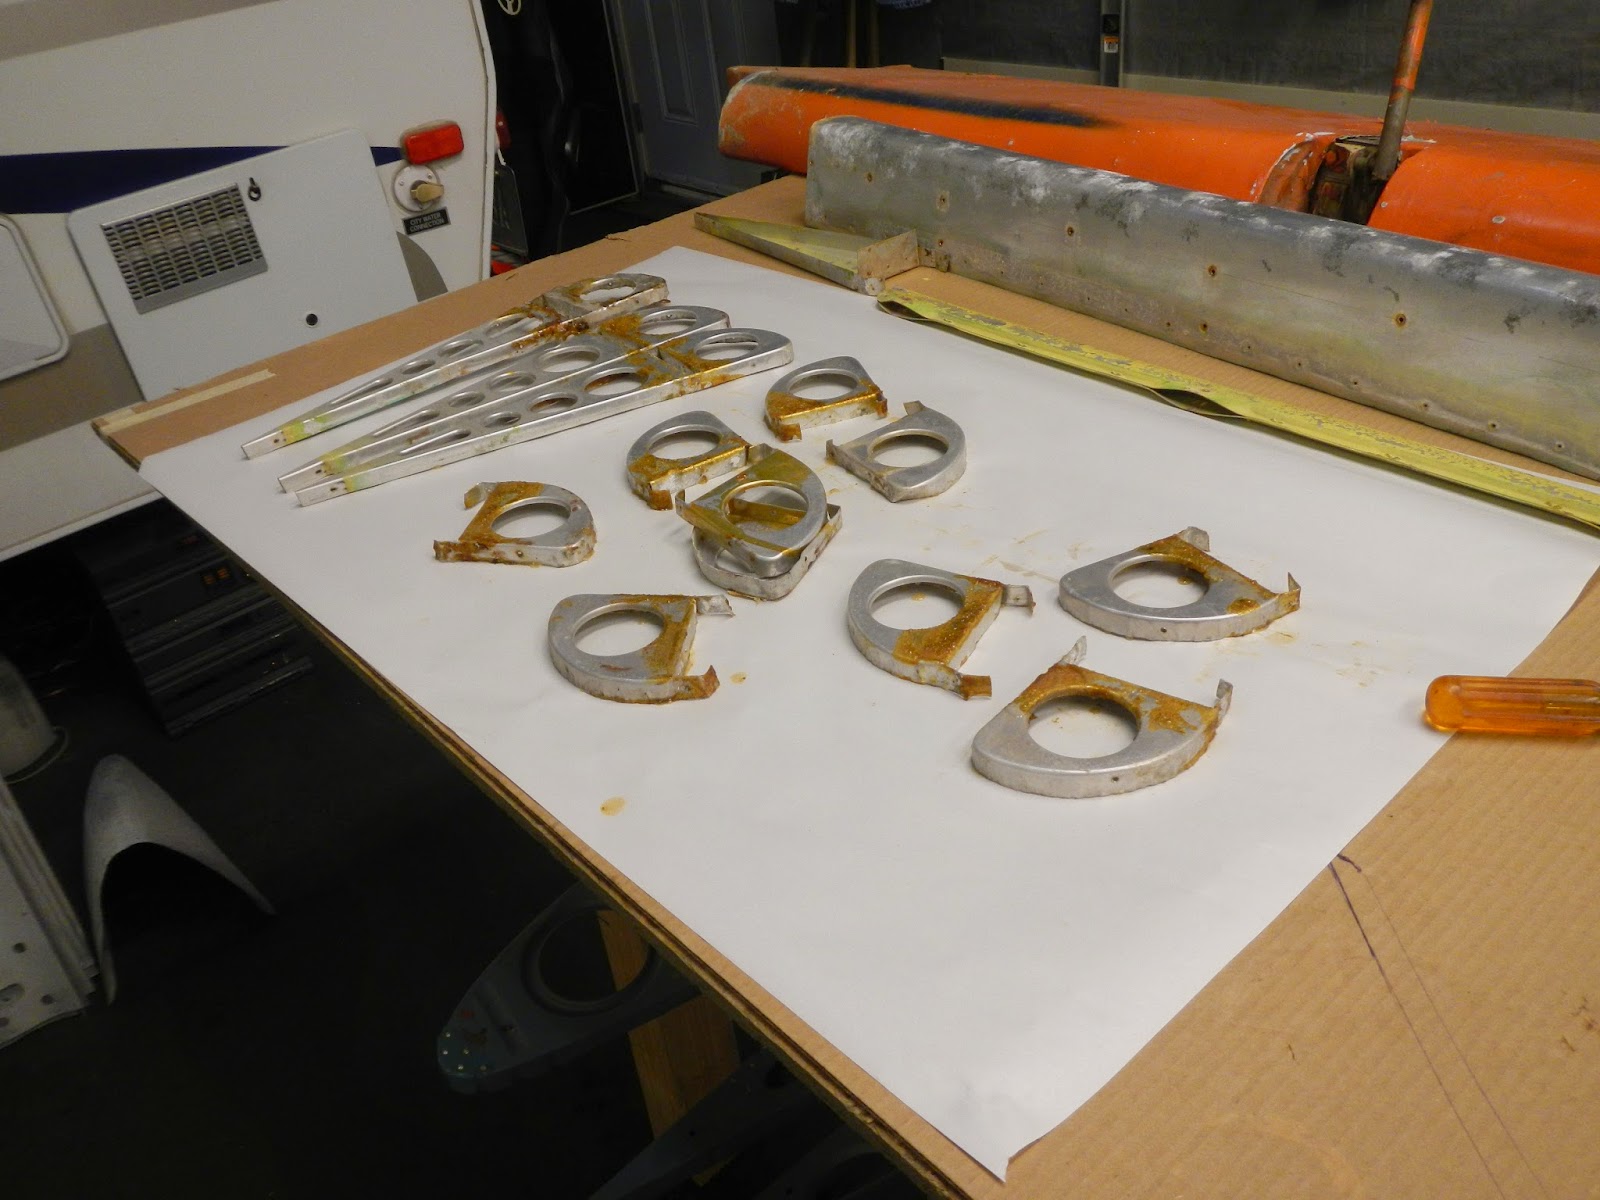
The complete aileron "kits" ready for assembly:

Back to the issue of the rib webs getting crushed into the spars. I was back and forth on what to do if anything, but the more I thought about the problem and worked with the ribs, the more I realized that I couldn't do all this work and put the ailerons back together as they were. The solution - 16 "repair stiffeners," one for each full rib.

 |
| The single thickness top and bottom flanges were the only support for the ribs aft of the spar |

The solution took a day


Assembly
Once the full ribs are strung onto the spars in the correct order, the remaining doublers, tip nose rib and tips can be glued in place. The following day three coats of eurethan varnish are applied by brush and the spars are finally complete.

because all the parts are already drilled, they all must go back in the same order and in the right locations in order to ensure the structure is true. I lifted the rib locations from the old spars but then test assembed everything to make final adjustments.

Then the top and bottom of each rib is nailed in place.


That's as far as I got before Christmas... to be continued.

No comments:
Post a Comment